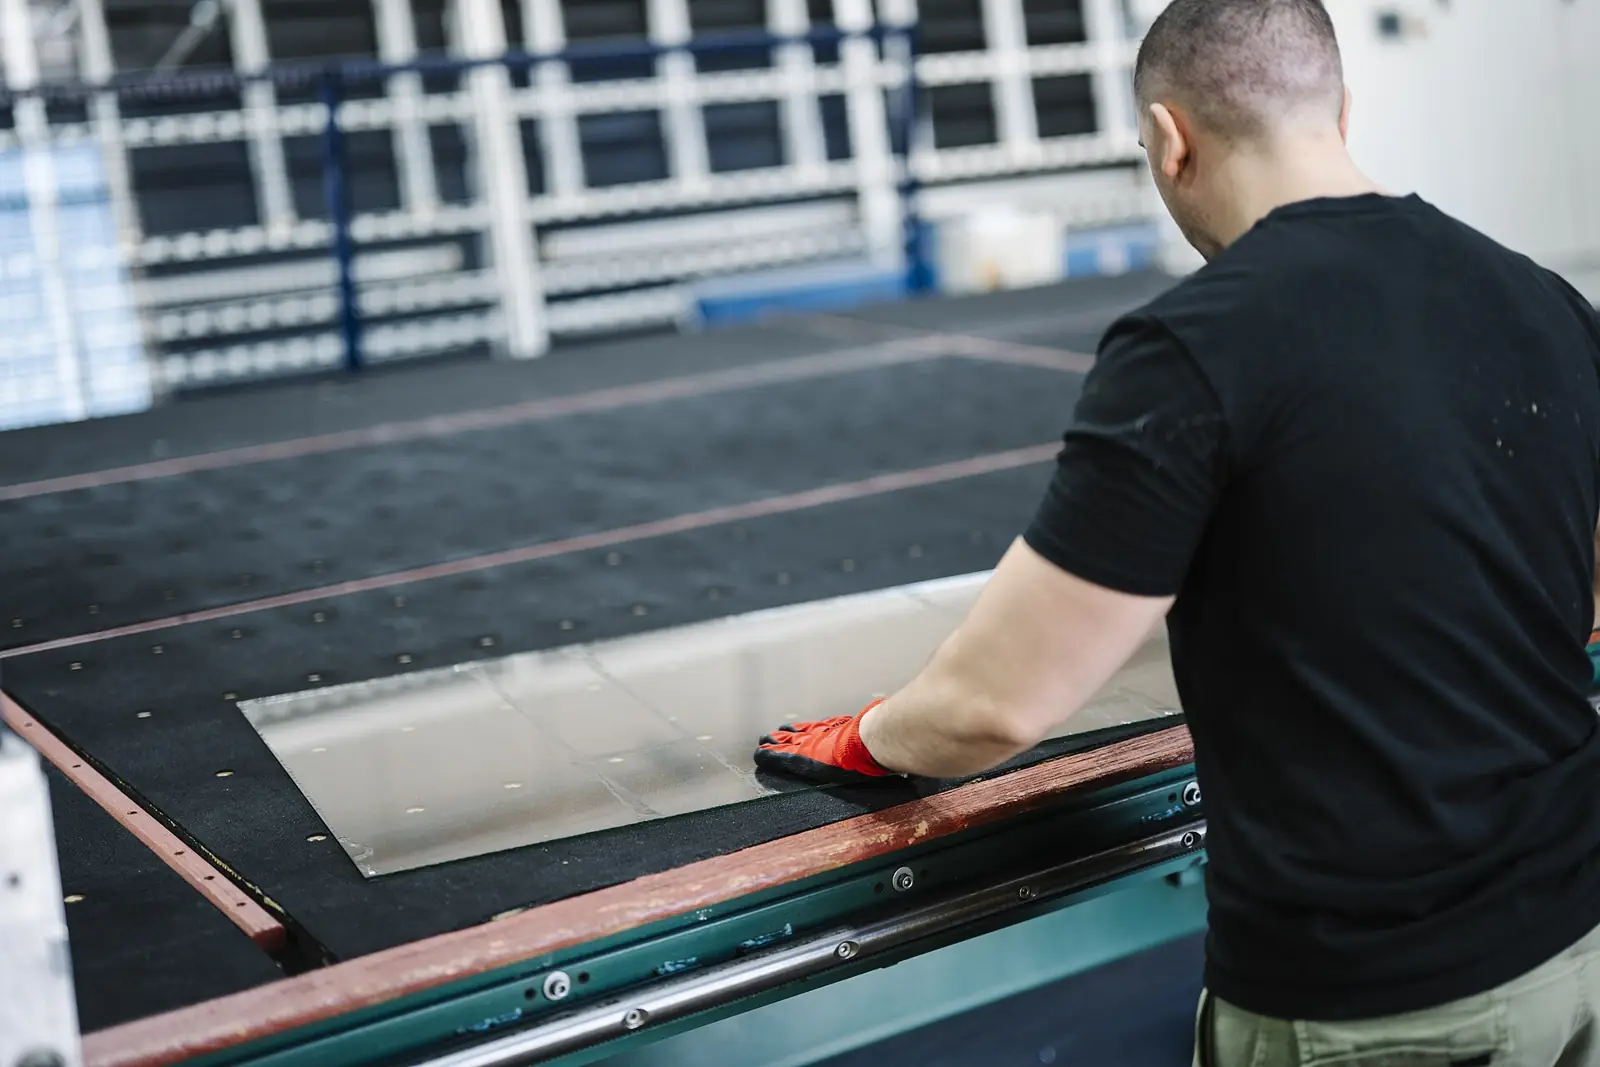
Worker handling a metal sheet on a production table
All machine vision applications
Machine Vision · Quality

Surface Defect Inspection with Machine Vision

Surface defect inspection uses carefully designed lighting and cameras to reveal scratches, dents, cracks, pores, stains and coating faults, then classifies them with rule-based tools or deep learning. It gives every part the same careful look, at production speed.

Surface Defect Inspection at a glance

What it finds
Scratches, dents, cracks, porosity and blowholes, burrs, stains, contamination, coating and plating faults.
How it sees
Lighting chosen for the defect: dark-field, bright-field, low-angle, dome or photometric stereo.
How it decides
Rule-based tools for predictable defects, deep learning for variable and cosmetic ones.
What you get
Rejects with defect images, and defect statistics that point to the process causing them.
Definition

What is surface defect inspection?

Surface defect inspection checks the outside of a part for flaws that affect its function or appearance. It is one of the hardest jobs for people to do consistently, because many defects only show at a particular angle of light.

Machine vision solves that with lighting engineered to make the defect visible, and software that decides whether what it sees is a defect or acceptable variation. Deep learning is especially useful here, because it can learn what a good surface looks like and flag anything unusual.

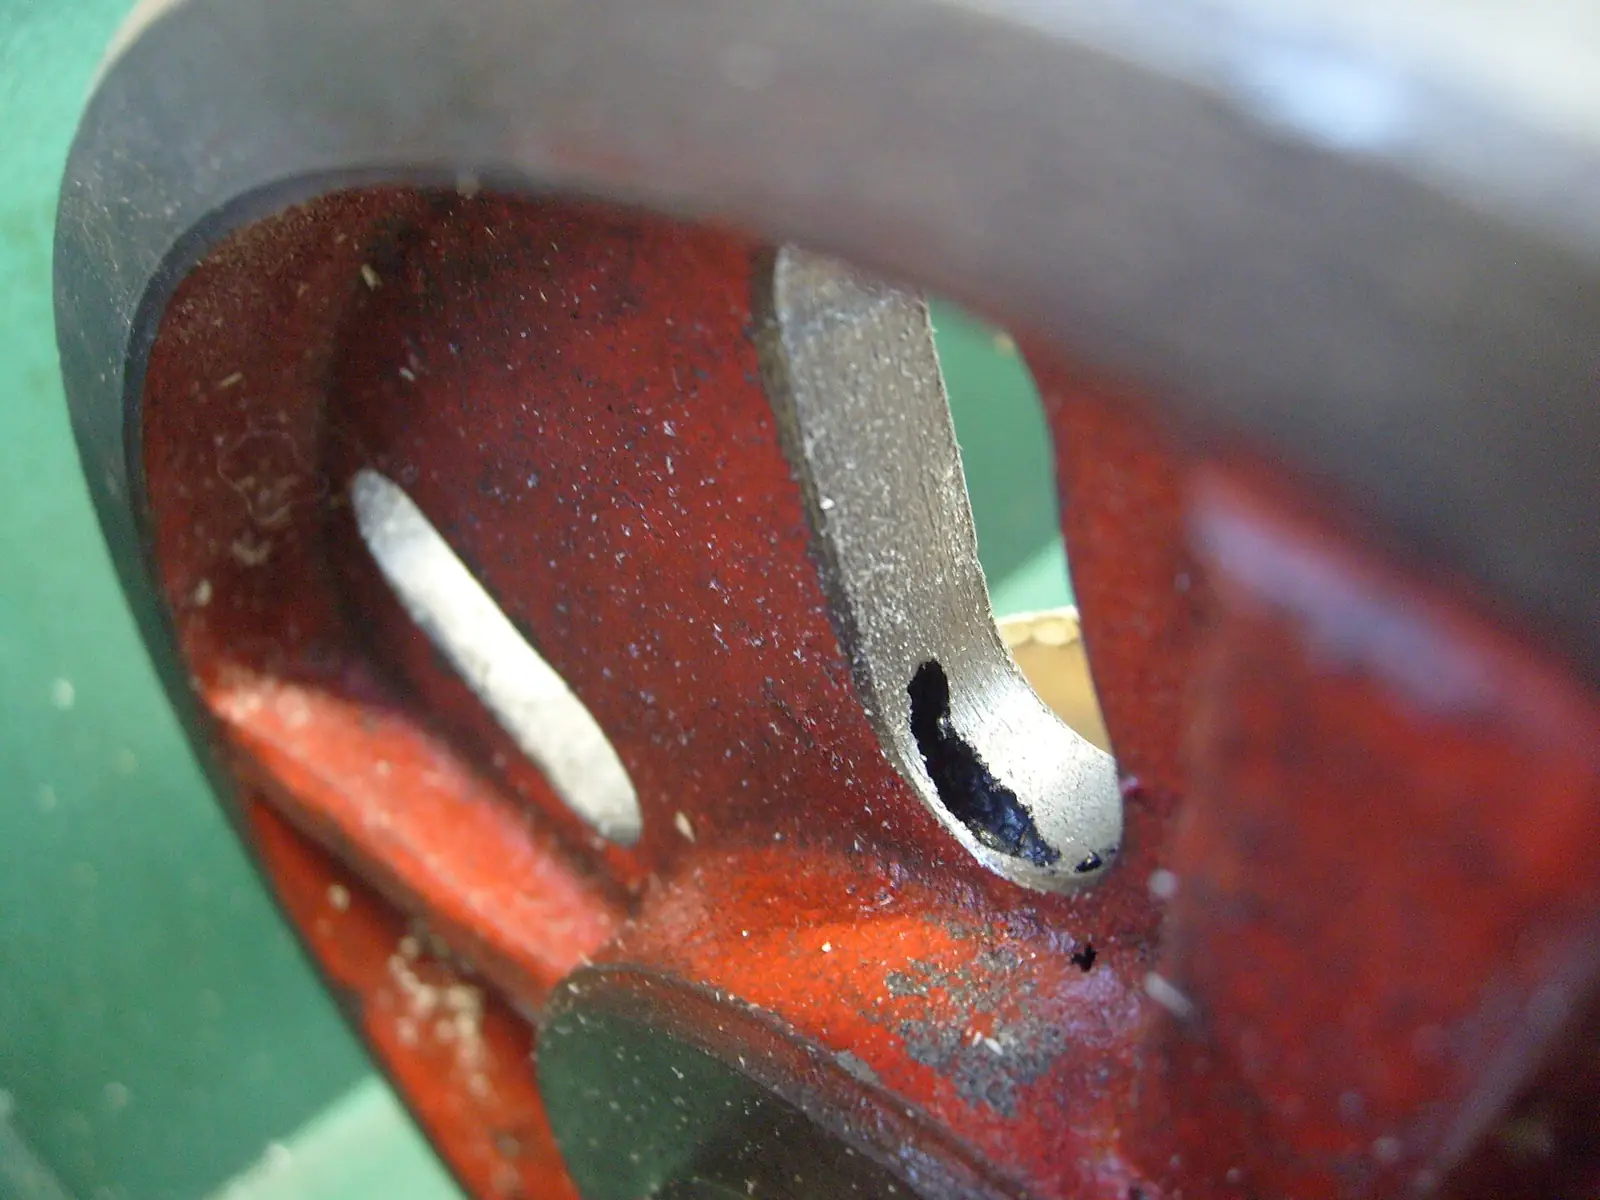
Close-up of a blowhole defect in a metal casting
A blowhole in a casting. Surface inspection has to tell defects like this apart from normal texture, on every part.
The problem

Why surface defects slip through

  • Many defects are only visible under light from a specific angle.
  • Acceptable texture and real defects can look similar to a tired eye.
  • Standards drift between inspectors, shifts and plants.
  • Cosmetic defects lead to customer rejections even when the part works.
  • Without defect data it is hard to find which process step causes them.
How it works

How surface defect inspection works, step by step

STEP 1PresentSTEP 2LightSTEP 3DetectSTEP 4ClassifySTEP 5Learn
  1. STEP 1

    Present the surface

    Parts pass on a conveyor, rotate in front of the camera, or are moved by a robot so every face is seen.

  2. STEP 2

    Engineer the light

    The lighting geometry is chosen to make each defect type stand out: low-angle light for scratches, diffuse dome light for shiny parts, backlight for cracks in transparent material.

  3. STEP 3

    Detect anomalies

    Rule-based tools find predictable defects; deep learning models flag anything that differs from good parts.

  4. STEP 4

    Classify and decide

    Defects are classified and sized, and the part is accepted, rejected or sent for review against your criteria.

  5. STEP 5

    Improve the process

    Defect counts by type and position show which upstream process needs attention.

The technology

Methods that make it reliable

Dark-field and low-angle lighting

Light grazing the surface makes scratches, dents and embossing throw bright or dark edges, even on flat parts.

Dome and diffuse lighting

Even, shadow-free light removes glare on shiny, curved or metallic parts so real defects are not confused with reflections.

Photometric stereo

Several images lit from different directions are combined to reveal surface shape, making shallow dents and bumps visible.

Deep learning anomaly detection

A model trained mainly on good parts learns normal variation and flags anything unusual, which suits defects that are rare or unpredictable.

Capabilities

What it can check

  • Scratches and scuffs
  • Dents and bumps
  • Cracks
  • Porosity and blowholes
  • Burrs and flash
  • Stains and contamination
  • Coating and paint faults
  • Plating defects
  • Colour and gloss variation
Industries

Where it is used

Rubber products and glovesMetal fabrication and castingsPlastic mouldingGlass and ceramicsAutomotive componentsConsumer products
Sample projects

How a project is scoped

Two example project scopes showing how the station, the checks and the outputs are defined. Every plant is different, so the final configuration is confirmed after a feasibility study on your own parts.

Example scope · Rubber products

Cosmetic inspection of moulded rubber parts

The situation: A rubber products exporter relies on visual inspection and receives cosmetic complaints from overseas buyers.

Station
Camera cell with dome and low-angle lighting after demoulding
Detects
Flow marks, pits, tears, flash and contamination
Output
Accept, reject or review, with a saved image of each defect
Extra
Defect statistics by mould and cavity
Example scope · Metal parts

Scratch and dent check on finished metal parts

The situation: A metal fabricator ships painted parts and needs consistent cosmetic grading before packing.

Station
Cameras with photometric stereo lighting over the packing conveyor
Detects
Scratches, dents, paint runs and bare spots
Output
Cosmetic grade per part, rejects diverted for rework
Extra
Customer-specific cosmetic limits per order
What is in the system

Typical components

  • Area-scan or line-scan cameras
  • Dome, ring, bar and low-angle lights
  • Photometric stereo lighting
  • Industrial PC with GPU for deep learning
  • Part handling or rotation
  • Reject or review station

Cameras and lenses, supplied locally

Industrial cameras, lenses, line-scan cameras and code readers are available through our machine vision catalog, quoted with delivery to Sri Lanka. We select the hardware for your application during the feasibility study.

Browse the hardware catalog
How we work

Proven on your parts before you commit

Every product, surface and line behaves differently under a camera, so every project starts with evidence from your own material.

  1. PHASE 1

    Discovery

    A site visit to understand your product, line speed, quality criteria and where the check should sit.

  2. PHASE 2

    Feasibility study

    We image your good and defective samples and show what the system can reliably detect. This is the go or no-go.

  3. PHASE 3

    Pilot station

    One station on one line, running beside your inspectors until results match and your team trusts them.

  4. PHASE 4

    Rollout and support

    More lines, integration with your PLC and systems, and local support from our Sri Lankan engineering team.

FAQ

Surface Defect Inspection: common questions

Can machine vision find scratches on shiny metal?

+

Yes, with the right lighting. Glare is the main problem on shiny surfaces, so diffuse dome lighting or photometric stereo is used to suppress reflections and make scratches and dents stand out.

When is deep learning better than rule-based inspection?

+

Rule-based tools suit defects that are predictable in size, shape and contrast. Deep learning suits variable, cosmetic or rare defects on textured or natural surfaces, where writing rules for every case is impractical.

How many sample parts do you need?

+

For a feasibility study, a set of good parts and as many examples of each defect type as you can collect. Deep learning anomaly detection can start mainly from good parts, which helps when defects are rare.

Can it inspect every side of a part?

+

Yes, by using several cameras, rotating the part, or having a robot present each face to the camera. The right approach depends on part size, shape and line speed.

What about defects that are borderline?

+

Borderline parts can be routed to a review station where an inspector sees the image and makes the call. Those decisions can then be used to refine the model.

Send us a few sample parts

Tell us what you need to check and share some good and faulty samples. We will show you what a camera can reliably see before you commit to anything.

Photographs show representative plants and equipment, not Cerox installations or client sites. Diagrams by Cerox Engineering. Photo credits, via Wikimedia Commons: Metal sheet in production by Shixart1985, CC BY 2.0; Blowhole defect in a casting by Orion Lawlor, Public domain.